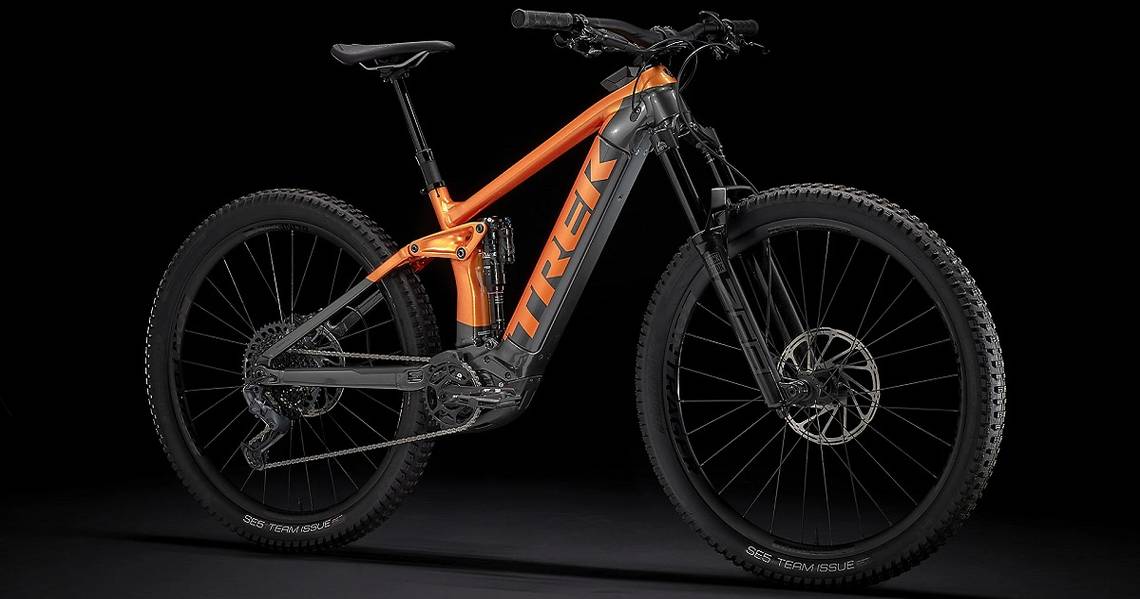
Biking has always been a major pastime for people all over the world. However, as of late, it seems that more and more people are hitting the trails with mountain bikes. Given that more people are riding, it also means that more need to understand the importance of mountain bike maintenance to ensure safety.
One of the most important aspects of maintaining a mountain bike is bleeding your brakes. This works differently than it does on a car. For a car, a user would bleed their brakes after installing a new set. But for a mountain bike, it has to be done every few years. However, if you notice that you have to squeeze the handlebars all the way to stop, you may need to bleed the brakes at that point just in case.
Brakes are super important for any type of moving object, so it makes sense that the same would be true for a mountain bike. The last thing you’d want is to slam into another rider because you couldn’t stop in time due to your brakes needing to be bled.
You can purchase kits to make the process of bleeding your brakes much easier. This is recommended, but sometimes your kit may not be nearby. Perhaps you have an important ride in a little over an hour, and your brake bleeding kit is at home. Also, kits on average cost about $30, and you’ll need a new one each time you bleed your brakes.
While you won't need to bleed the brakes on your mountain bike very often, that is still expensive for a one-time use item. It makes sense that many people will want to at least try to bleed their brakes without the aid of a kit.
This article will serve as a guide for how to bleed the brakes on your mountain bike without a kit.
What Does Bleeding Your Brakes Mean?

The process of bleeding the hydraulic disk brakes on your mountain bike essentially removes any air bubbles that clog up the brake line. These build up over time and are not the result of any issue associated with your brakes.
The air bubbles make it harder to stop as they grow in amount, which is why it is recommended that you bleed your brakes once every three to five years. Of course, if you experience problems stopping, do it sooner.
What You’ll Need

The first thing you’ll need to do is determine which brake fluid you should use. There are two types that mountain bikes use, DOT fluid and mineral oil. Only use the fluid your bike’s manual says you should employ.
This is important because mixing two different types of brake fluid will cause more problems than if you didn’t bleed the brakes on your mountain bike to being with.
In terms of other items required to bleed your brakes without a kit, you will need an 8mm wrench (ring ended works best for this job, either an adjustable wrench or a 26mm, small amount of tubing, rags, and of course, the correct brake fluid.
How To Change The Brakes On Your Mountain Bike

The following steps are needed to change the brakes:
1. You will need to remove the wheel and brake pads. During this part of the process and throughout the rest, do not touch the surface of the brake pads with your fingers. This will contaminate the pads.
2. Hold the mountain bike upright and keep it stable. Find the nipple on the caliper and ensure that it is pointing upwards. Now, adjust the brake lever clamp until it is horizontal with the ground. To prevent a bigger mess than necessary, put rags or paper on the ground to catch excess fluid as it is expelled from the brakes.
3. Next, undo the master cylinder cap on the brake lever using the 26mm wrench. This will essentially be a large polygon nut.
4. Attach the small tubing to the nipple on the caliper and then attach either a container or use a rag to catch the fluid. Now the actual bleeding of the brakes can begin.
5. Fill up the lever with the correct brake fluid.
6. Undo the nipple by a quarter of a turn. Slowly pull the brake lever and hold it.
7. Now tighten the nipple. And release the brake lever.
8. Undo the nipple by a quarter turn and then slowly pull the brake lever. Hold it.
9. Tighten the lever. Now you’ll see brake fluid being expelled from the brakes, and there will be small air bubbles in the fluid.
10. Repeat this process until there are no bubbles in the fluid. Monitor the brake fluid in the reservoir to ensure it does not get too low.
Replacing The Master Cylinder Cap

This next part of the process of bleeding your brakes can be a bit tricky. It is as follows:
1. First, unscrew the reservoir piston from the cylinder cap.
2. Fill up the reservoir with brake fluid and surround it with a rag.
3. Now, push the reservoir piston into the cylinder. The O-ring should be covered.
4. Place the cap on the master cylinder and screw the silver adjuster counterclockwise.
5. While the assembly is low enough to engage the cap and the threads on the lever, press down on the cap.
Then screw it clockwise by hand and finish the process with the 26mm wrench. Next, screw the adjuster counterclock wise as far as it will go.
6. You will notice the pistons poking out of the caliper. Undo the nipple again to release fluid until the pistons line up with the inside of the caliper.
7. Replace the wheels and pads, and you’re done. You may need to screw the silver lever adjuster clockwise until you have the level of breaking your desire.
8. Go for a spin.