Plenty of people have pointed out to me that I'm probably going about my Porsche 914 project all backwards. For me, the powertrain remains a priority—getting the engine and transaxle sorted out and reinstalled so the car can actually run. For a professional restorer or anyone who has invested time and money into a project like this, all the cosmetic work on the horizon would loom large while the engine and trans are out of the car.
But I'd rather have a funky runner than a non-running garage queen and, to be honest, I might not ever get this 914 to the point where it has a new paint job, a fresh dash pad, or perfect leather seat bolsters. Mechanically, I figure if I get the drivetrain reinstalled and then later need to drop it all to fix up some as-yet unknown part, every step of the way just adds to the learning process.
I want to know everything about this car but that kind of knowledge comes with time (and plenty of help from my new friends on the 914World forums). At the outset—a stage I can admit I'm still in after a few months already—the biggest questions still include figuring out what's going on with the engine and gearbox. So to answer those questions, I needed to strip everything off the engine to take it to a machine shop.
Prepping A Type 4 Volkswagen Flat-Four For The Machine Shop
As I was ramping up to purchase the 914, I called a few machine shops around the Los Angeles area to talk budget and lead time, with most responding that a rebuilt Type 4 usually runs in the $3,000 to $4,500 range depending on the quality of parts and the displacement desired. Most quoted about a month to get the job done.
When I explained the messy state of my car and its Type 4 motor, nobody batted an eye. They all said the shop would do most of the teardown and pressure wash the parts, so all I really had to do was remove all the accessories other than the flywheel and clutch pressure plate, plus drain the oil.
Start With Removing The Easy Bits
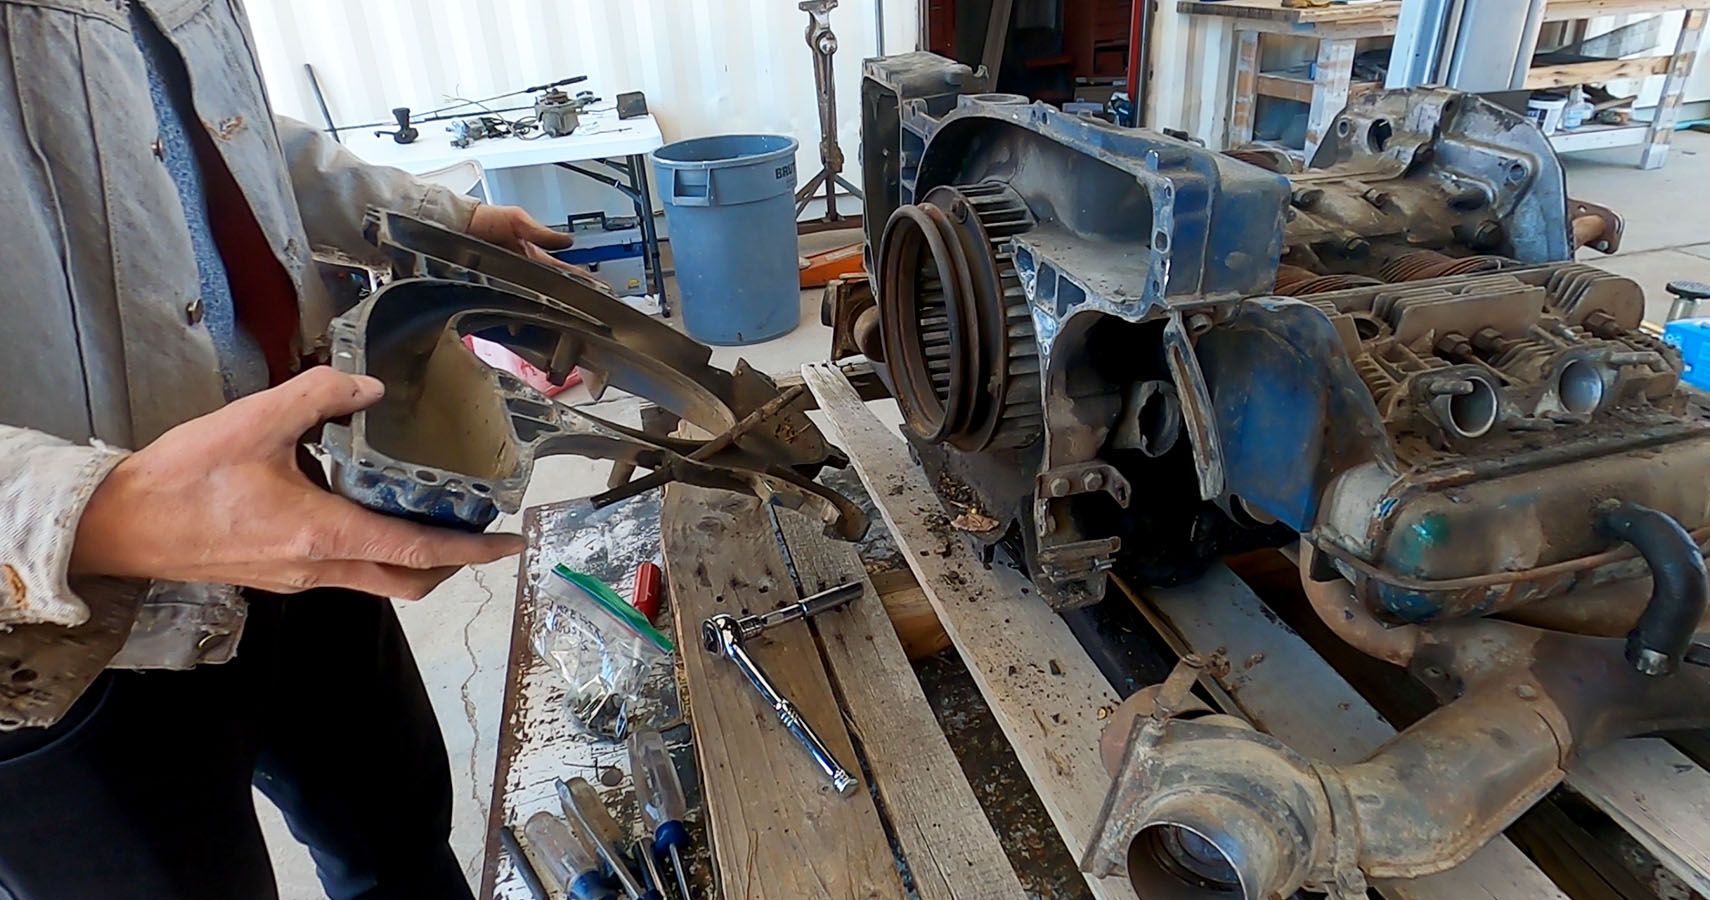
Using the Haynes Repair Manual that came with my car as a guide, I'd recommend first removing the easiest bits that just pop right off, including the distributor, oil spout, and dipstick. Then, the manual had me start by loosening the alternator bolt, slipping off the belt, and removing the alternator altogether. Next, I began undoing all the Phillips-head and hex screws holding on the impeller and fan shroud.
Mostly Filthy With Some Strangely Clean Parts, Too
I followed the Haynes Repair Manual's instructions quite closely, though it may have been easier to remove the impeller itself first and then take the entire fan shroud off in one piece. But I'm glad I have it apart because, as like so much else with this particular powerplant and this particular project car, it's an absolute mess and needs some serious deep cleaning before being reinstalled.
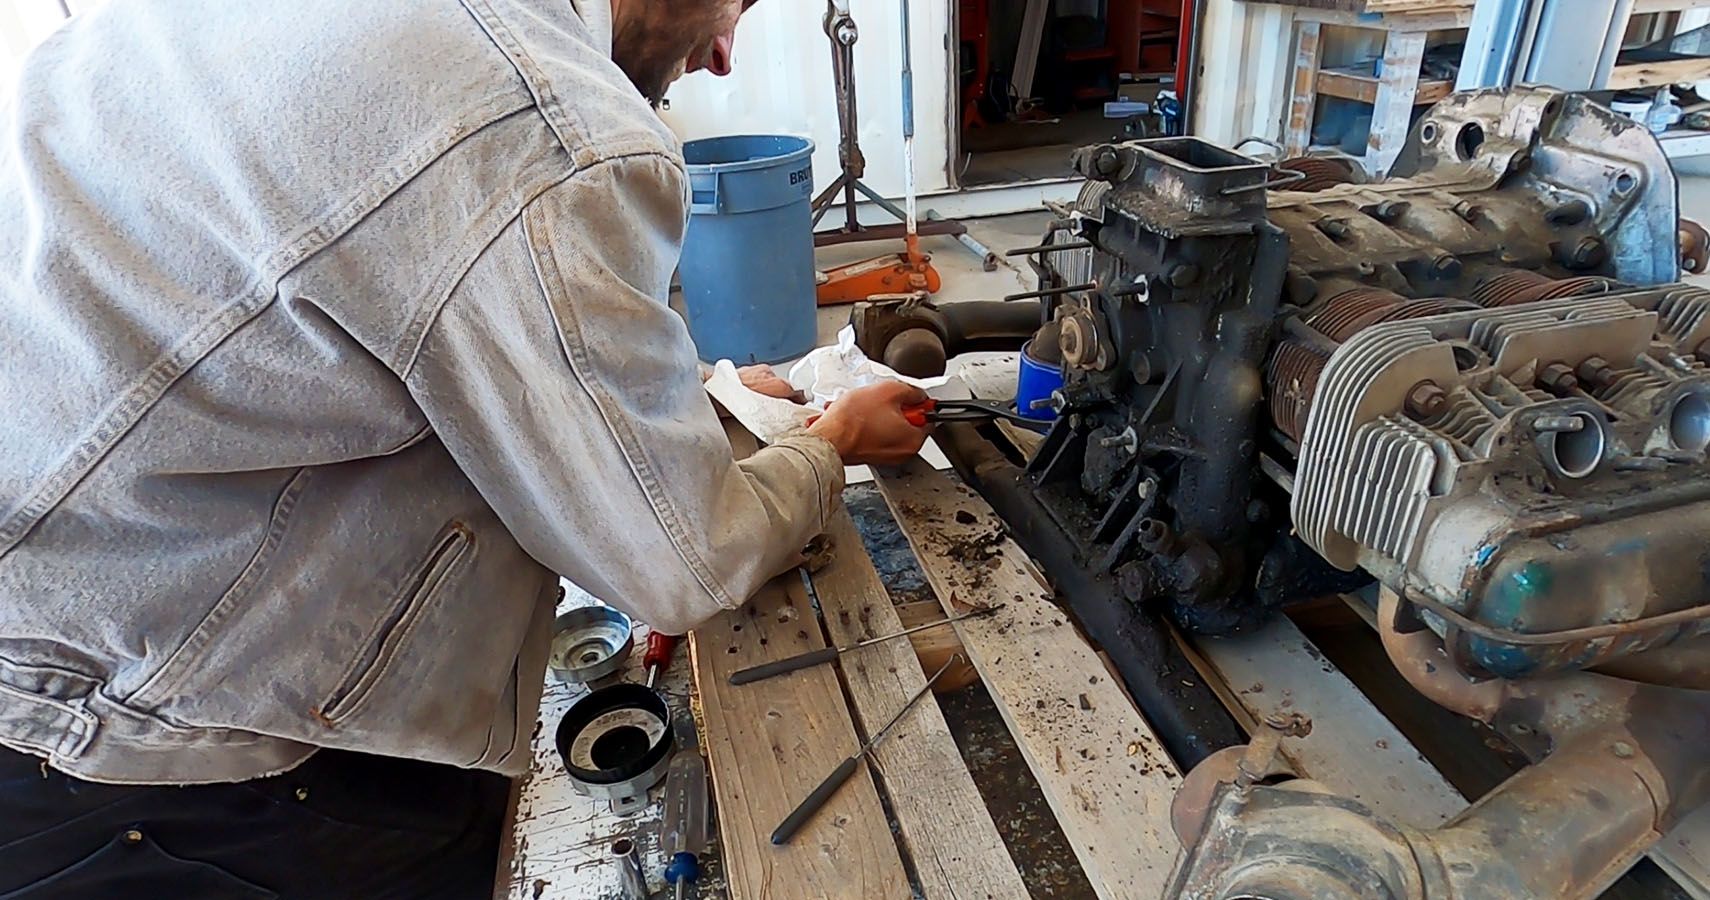
With the front of the engine exposed, I debated whether to remove the impeller hub and decided to leave it on. Next, I removed the oil-related accessories: the oil cooler, filter, and filter housing. Surprisingly, the oil cooler seals looked almost brand-new, begging the question of whether this engine had received any work in the past decade or not.
Lifting The Engine To Remove The Crossbar And Exhaust
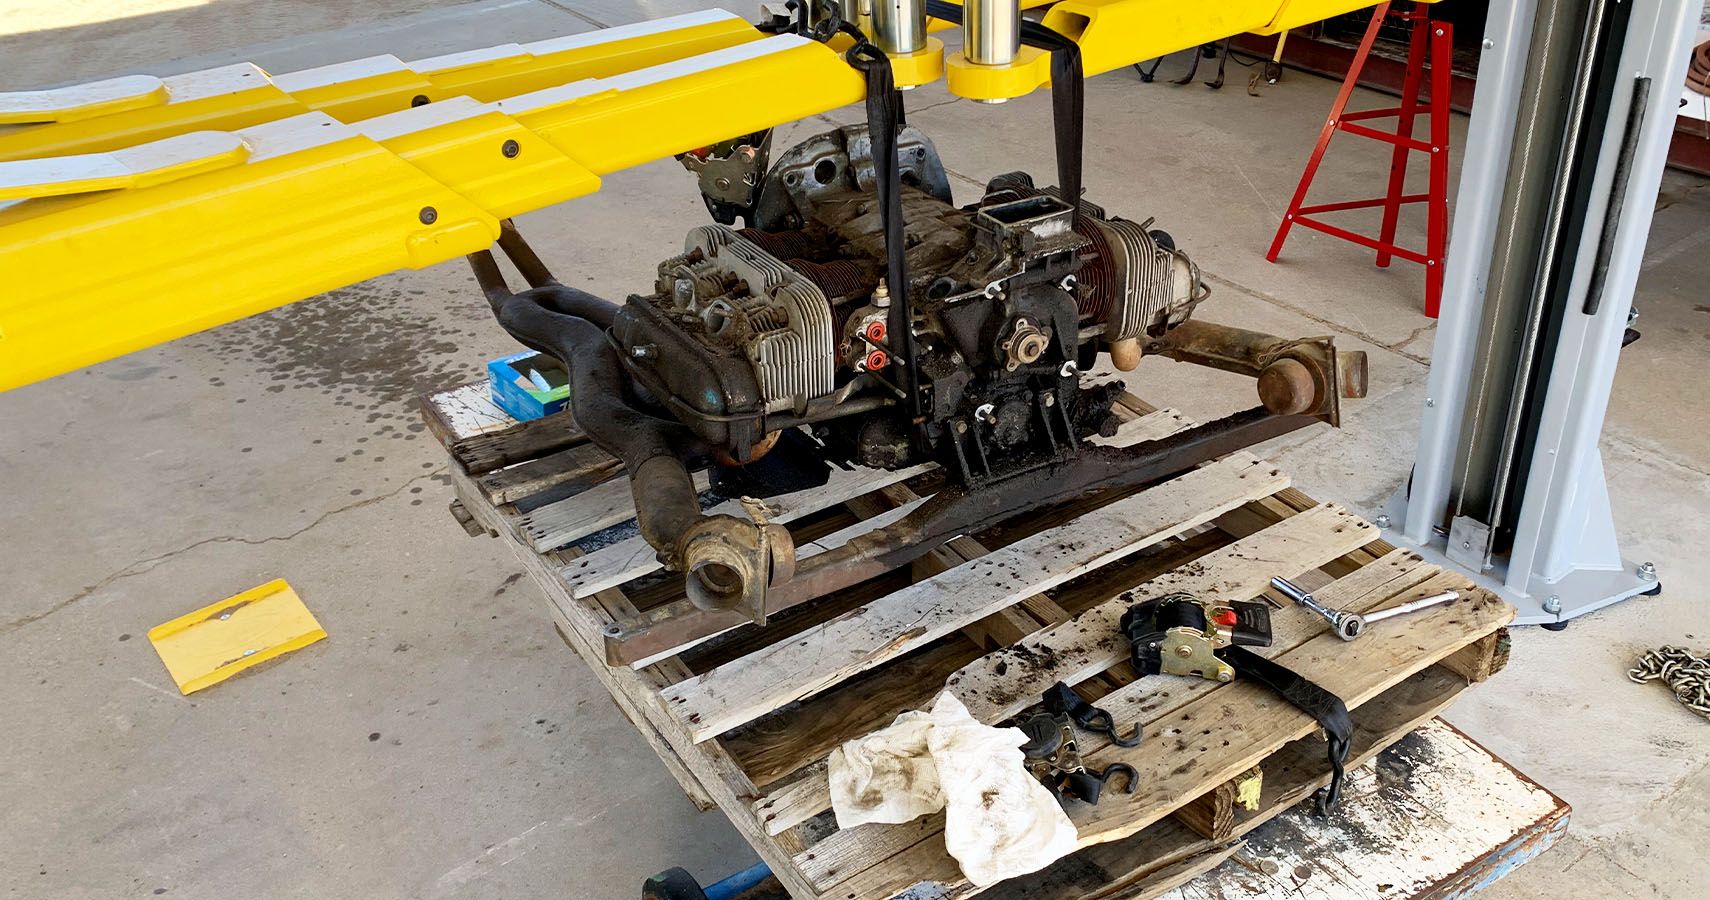
In order to remove the engine mount crossbar and exhaust heat exchangers, I had to jerry rig a way to hold the engine up off the table and pallet and access bolts from below. Using a few straps and the arms of the car lift made getting the engine up in the air quite easy, though it presented challenges when the whole assembly easily swayed and spun as I attempted to unscrew rather tight bolts and nuts.
Luckily, the crossbar is held on from the bottom by only two hex bolts, while the heat exchangers only require the removal of four nuts and washers. Somewhat surprisingly, this stage proceeded smoothly, a relief as I'd been expecting at least the exhaust nuts to be badly rusted on.
Draining Out The Gunky Oil (And Maybe Some Water, Too)
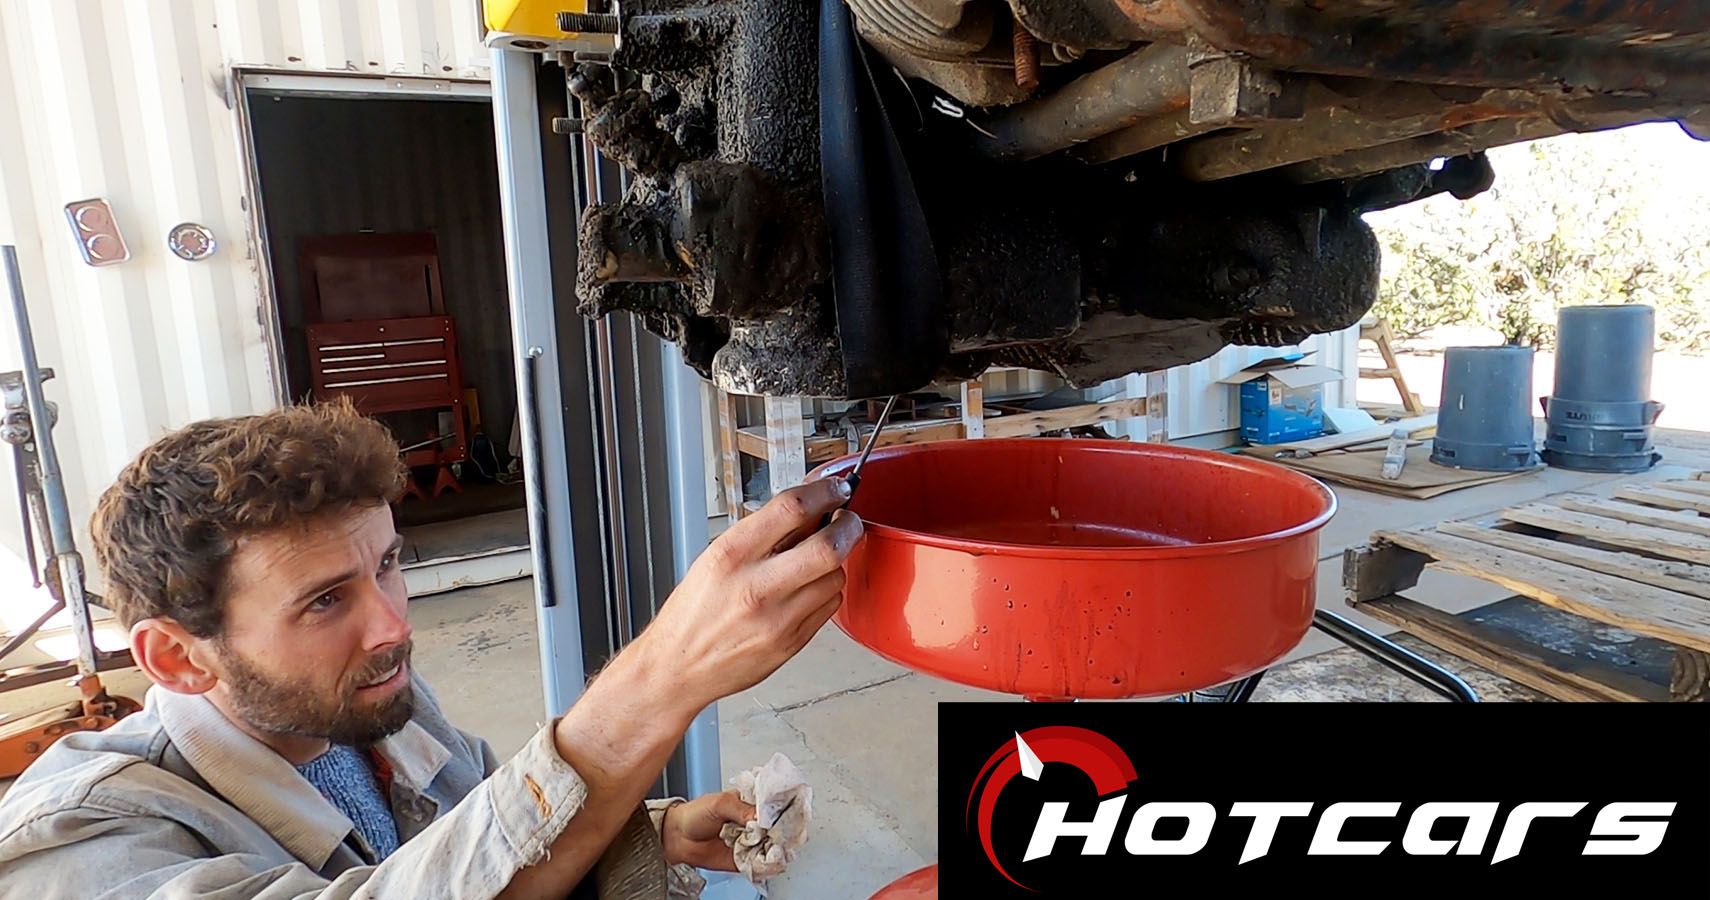
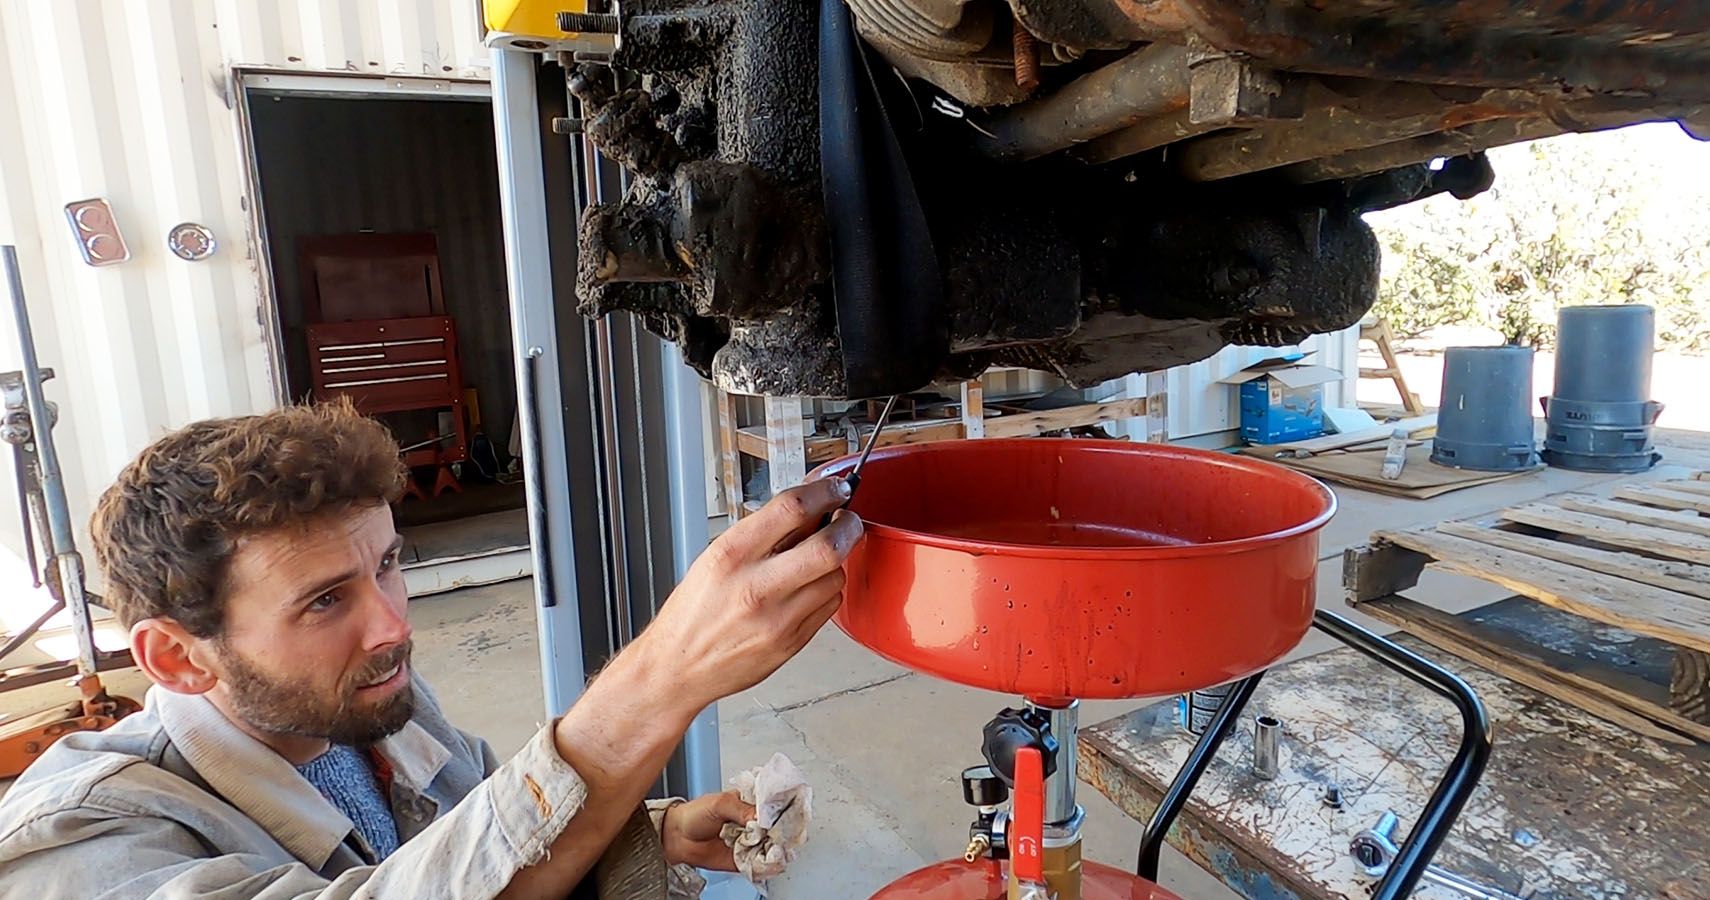
With the engine suspended by straps, the time seemed right to drain its oil. This was a pretty gnarly and revealing stage of the process, since at first the liquid flowed out clear and quickly, almost like water. But then, full-on chunks began plopping out and eventually, the oil stopped flowing entirely. I stuck a little pick up in there and wiggled it around a fair amount, trying to clear up the obstruction.
Separated and congealed almost like salad dressing kept in the fridge, the oil slowly blooped its way out—I even undid what looked like another drain plug on the bottom of the engine (if anyone watching the video or reading this write-up knows why the Type 4 appears to have two drain plugs on the bottom, please let me know).
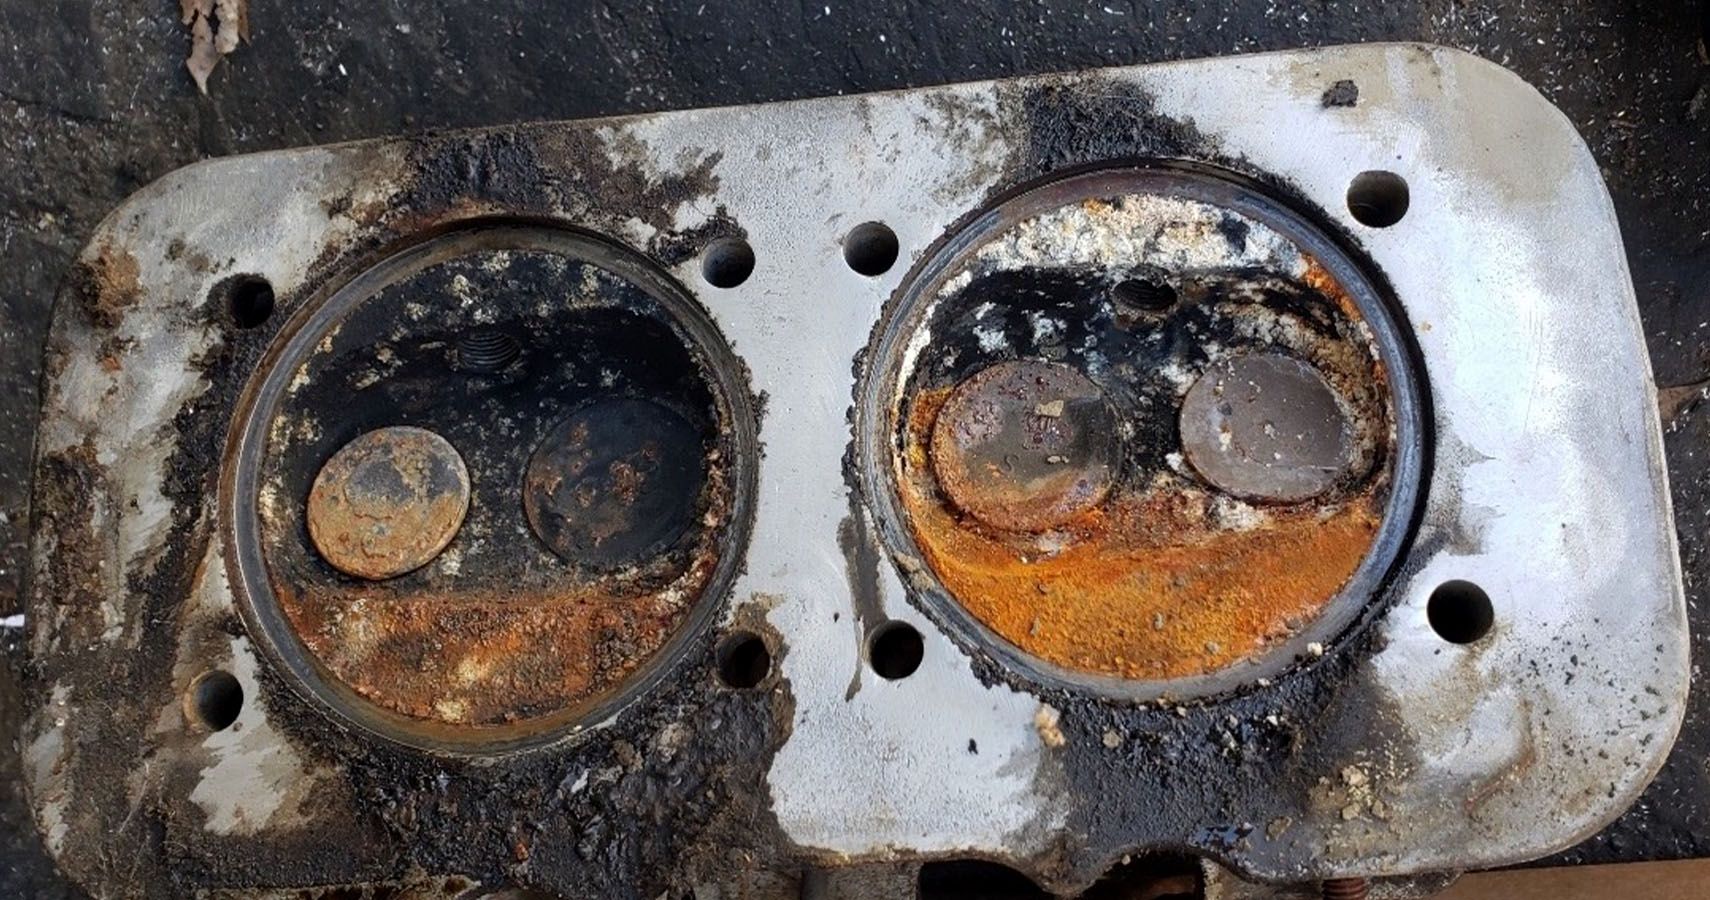
This Is Your Engine On Water
After waiting what seemed like ages for all the gunked-up oil to drain—with a little motivation by way of brake cleaner spray—I then reinstalled both drain plugs and strapped the motor down in the back of my Montero for the quick drive to George at European Motorworks in Hawthorne. I decided to go with George first because he's only about a fifteen minute drive from Santa Monica (depending on traffic, of course) but also because of the reputation he's developed online and his concise, clear communication while discussing my engine predicament on the phone.
When I dropped off at European Motorworks, my inkling that perhaps water drained out before oil would prove inauspicious. Even better, as soon as George saw the engine, he immediately informed me it was a Volkswagen Bus Type 4, which he was able to immediately identify because the dipstick sits at a different location to allow for better access from a rear-mounted hatch, rather than the 914's decklid amidships. Then, as I was preparing to leave the shop, he called me back in to point out that the flywheel was a 228mm unit that would almost 100% not even possibly mate to a 914 transaxle.
The mysteries and questions swirling in my head, I drove home wondering what kind of story the previous owner had told me. The fact that a 2.0-liter Bus engine might have been in the car can be reasonably expected of a 50-year-old Porsche 914, since the two cars essentially used the same aluminum alloy powerplant (as opposed to the Beetle and other Porsches, which use magnesium cases).
Deciphering The Seller's Stories
But the larger and thicker flywheel means that the motor couldn't have driven the 914 unless the transaxle bellhousing had received significant clearancing work. Even more perplexing, that kind of machining would cost significantly more than the price of just installing a smaller flywheel and clutch pressure plate. The most plausible explanation I've come up with so far is that the seller had two complete drivetrains, a 914 Type 4 and trans in the car together and a VW Bus Type 4 with the later 914 side-shift trans sitting around waiting to be installed.
It would only make sense that he'd sold the 914 engine beforehand and sold me the car with the Bus engine, hoping I wouldn't notice—and I didn't. The next step towards solving these mysteries includes checking out my two transaxles and prepping them to go to California Motorsports of Lake Havasu City, Arizona, for an inspection.
Sources: youtube.com, 914world.com, europeanmotorworks.com, and californiamotorsports.net.

