The list of potential problems that render a 2006 Porsche Cayenne Turbo so affordable today can often offset how incredibly well this 15-year-old super SUV drives. Still, with eyes wide open, I recently picked up a Cayenne with 115,000 miles on the clock because it offers serious power and off-roading capabilities all in one luxurious package. And luckily, the previous owner addressed most of the big-ticket items affecting Cayenne depreciation, including replacing the driveshaft, rebuilding the air suspension system, and installing metal coolant pipes for the 4.5-liter twin-turbo V8.
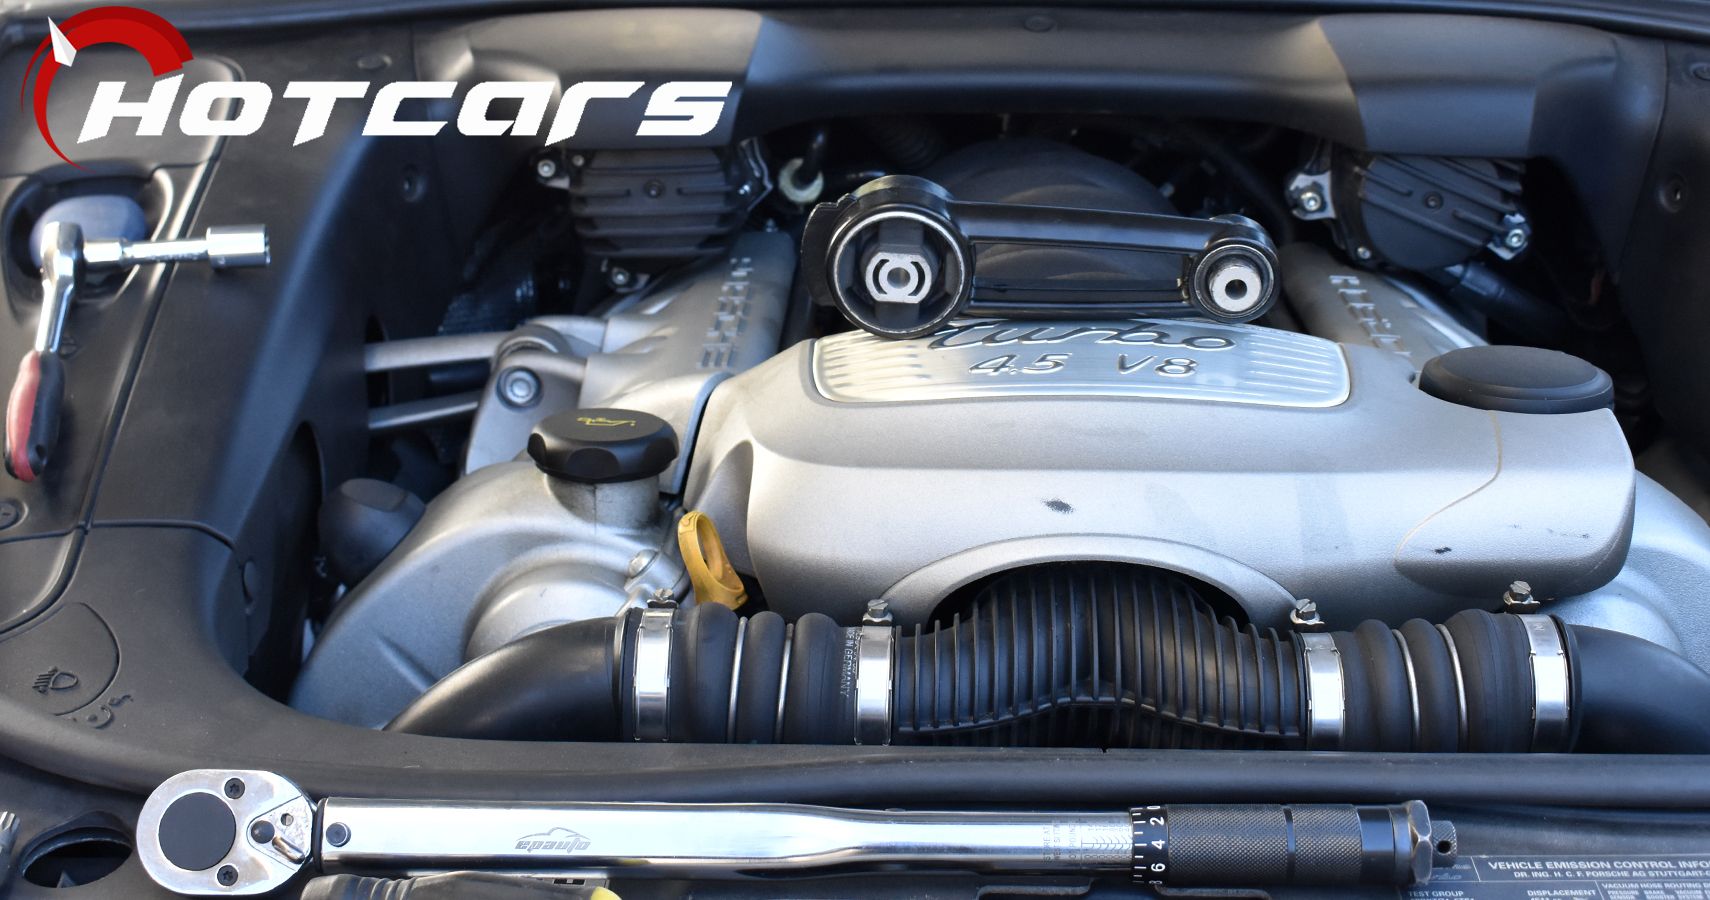
But the reason Porsche issued an official Technical Service Bulletin for replacement metal coolant pipes in the first place comes down to heat soak in the tight engine bay, which can also lead to the premature failure of any other components made of plastic—not to mention electronics. One such issue on my Cayenne, which I spotted before purchasing but figured wouldn't be too big a deal, was the torque arm. Also known as the torque strut or dogbone mount, the torque arm sits right on top of the engine to help stabilize the massive powerplant. The rubber bushings on mine were clearly shot, but installing a new torque arm is easy and relatively cheap, provided you avoid the OEM Porsche tax.
The Right Tools For Easy Access
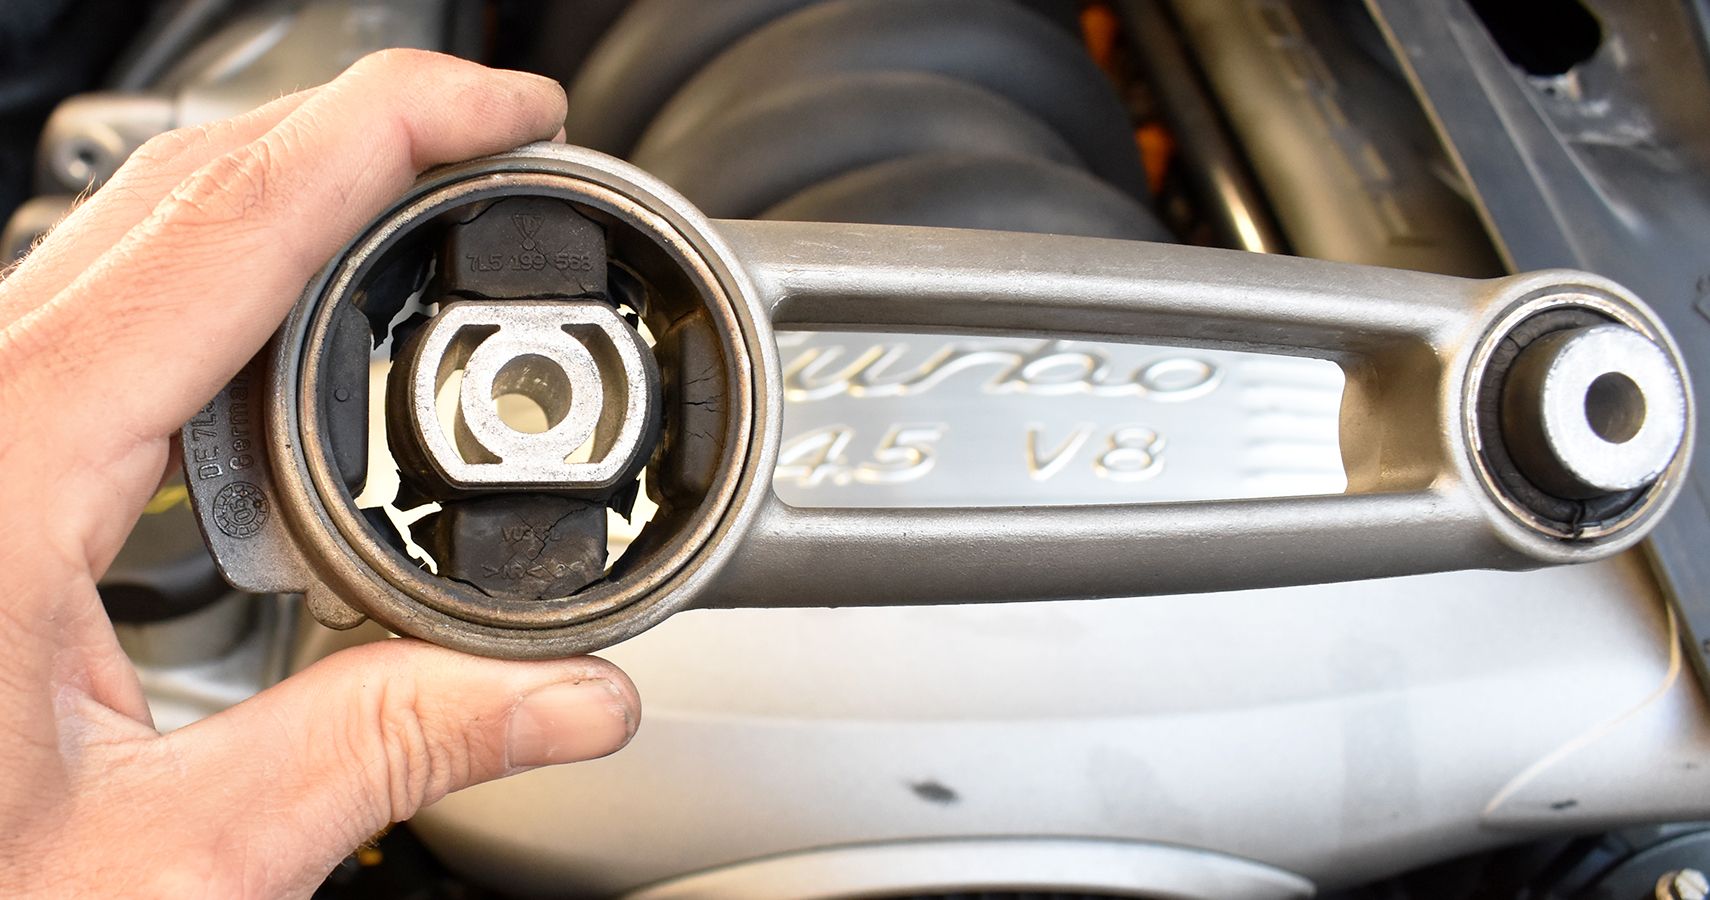
The torque arm helps keep the engine from twisting too much and shredding the lower engine mounts. When still in good shape, it contributes to smoother idling and driving. But the torque arm's rubber bushings sit right in the hottest portion of the engine bay, so they'll eventually crack and fail. Diagnosing the condition only requires giving the metal bar a quick jerk—if it moves or wiggles at all, prepare to replace it.
Even though it's right there in clear sight, classic Porsche engineering means the job requires a relatively significant set of tools. Basics like both a flathead and Phillips-head screwdriver, ratchets with 10-millimeter and 16-millimeter sockets, a torque wrench capable of 44 lb-ft, and socket extensions will help make things easier, though you'll also need two specialty tools, a T20 Torx drive and a 12-millimeter triple-square bit or drive (also known as 12-point). I went out and bought the triple-square attachment and made sure it fit the unique bolt holding the torque arm to the engine cover before leaving the store.
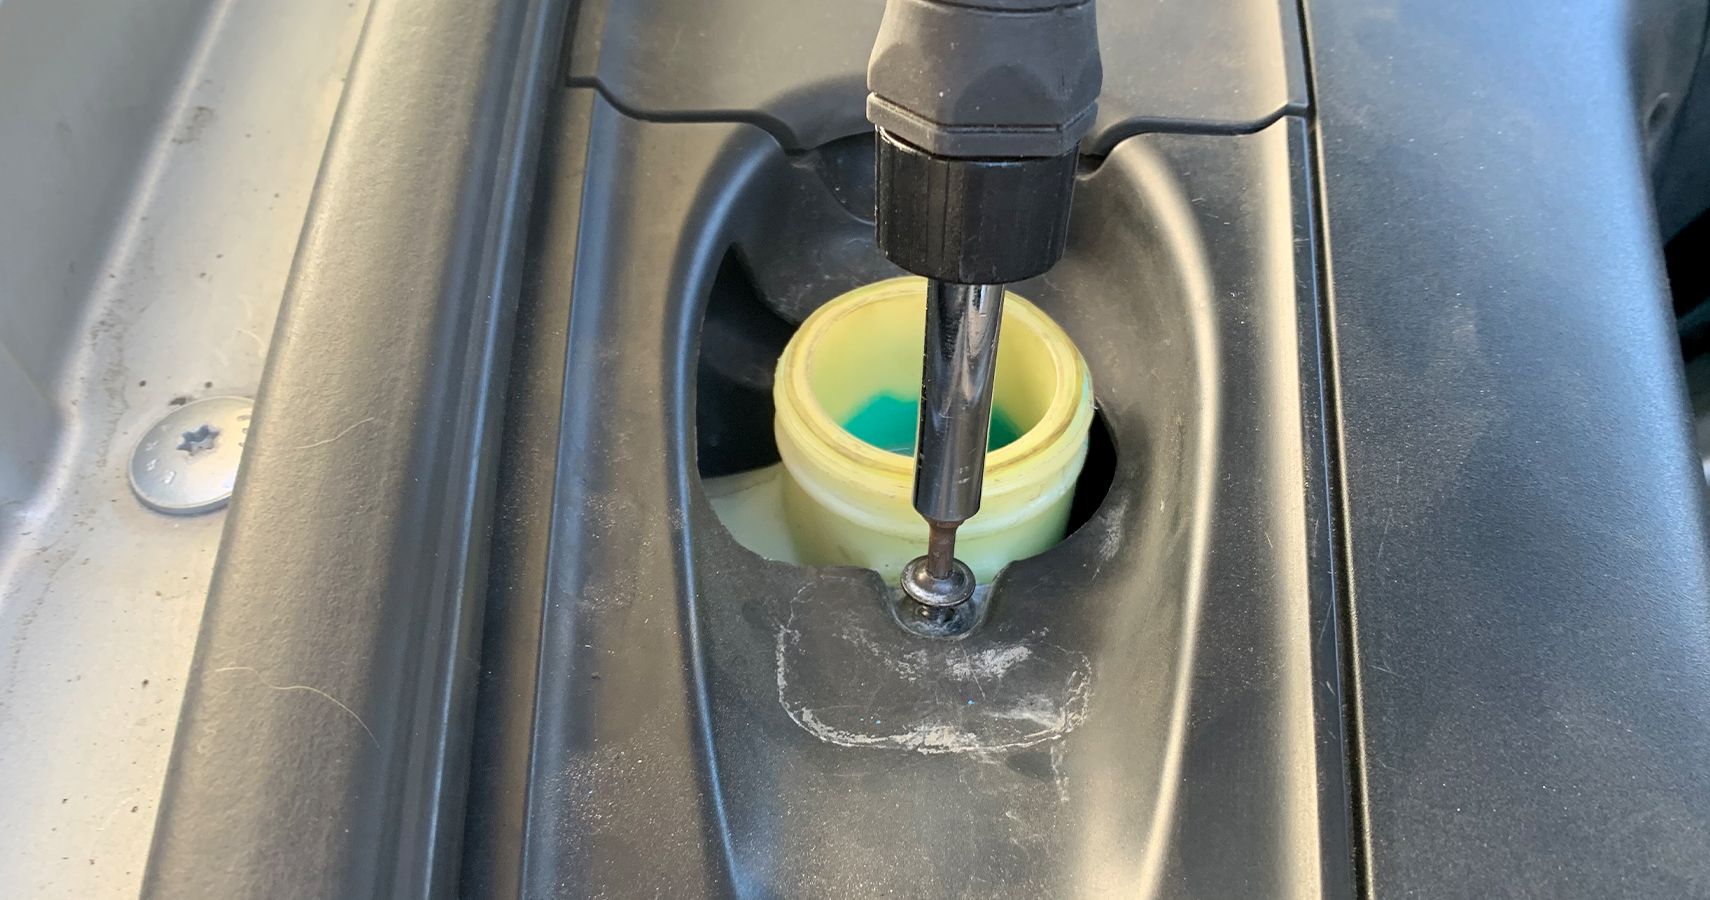
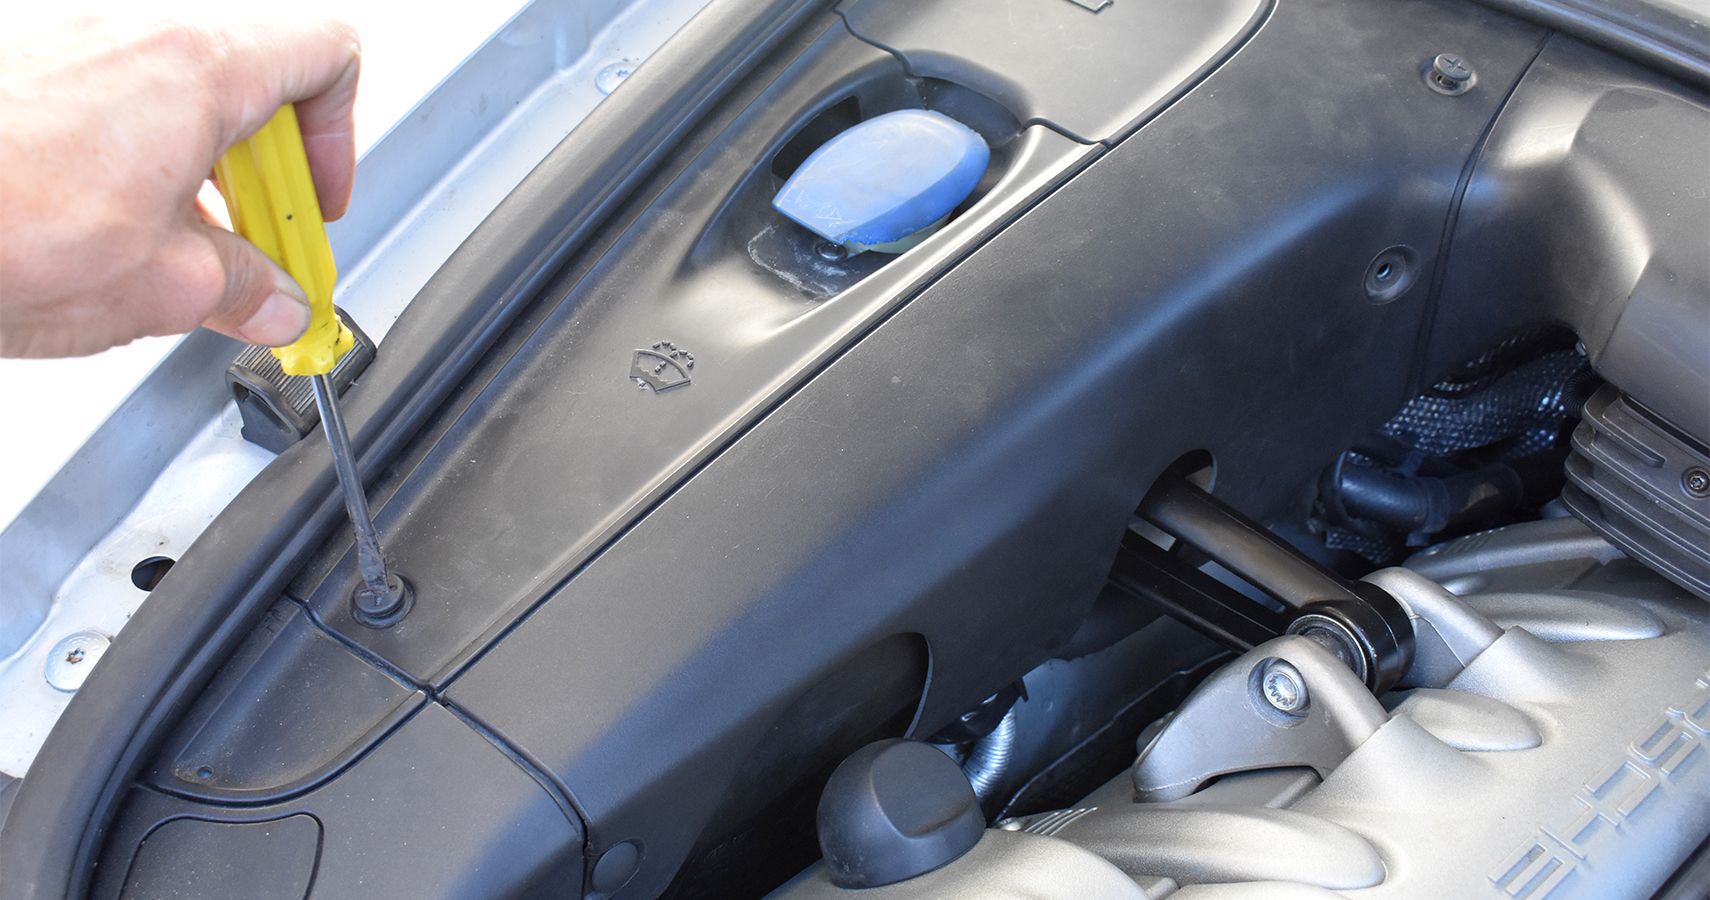
With all the tools on hand, begin by removing the passenger side engine bay trim by popping off the washer fluid cap, removing the two quarter-turn plastic screws, and unscrewing the T20 Torx below the washer fluid reservoir neck.
Breaking Loose The Loose Torque Arm
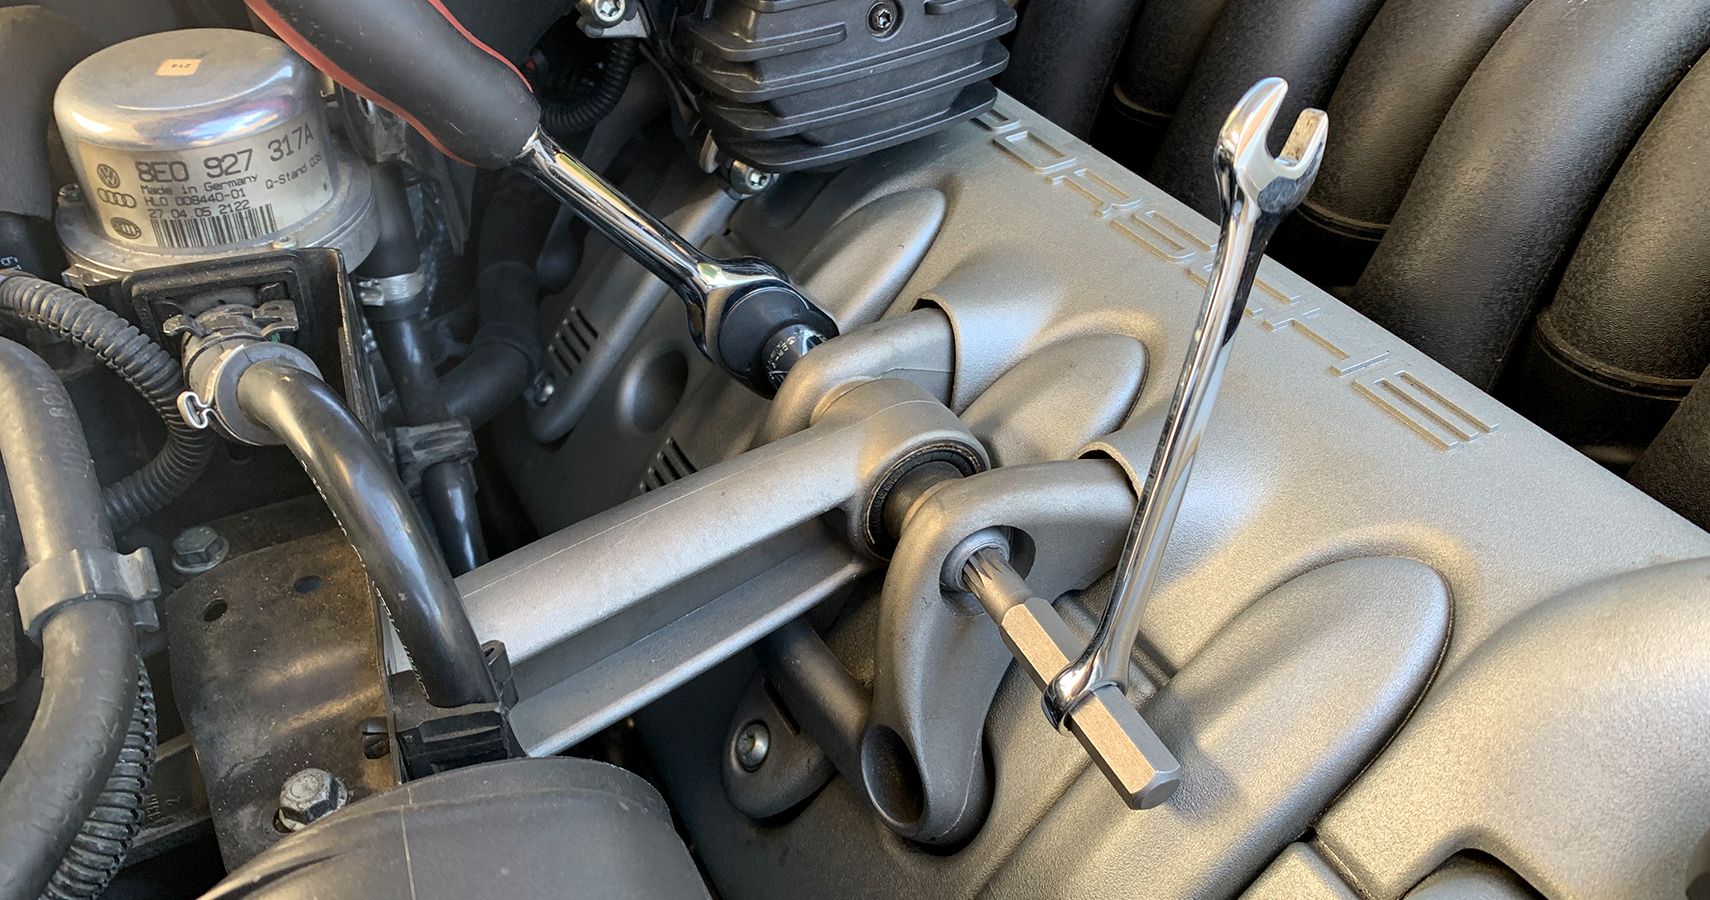
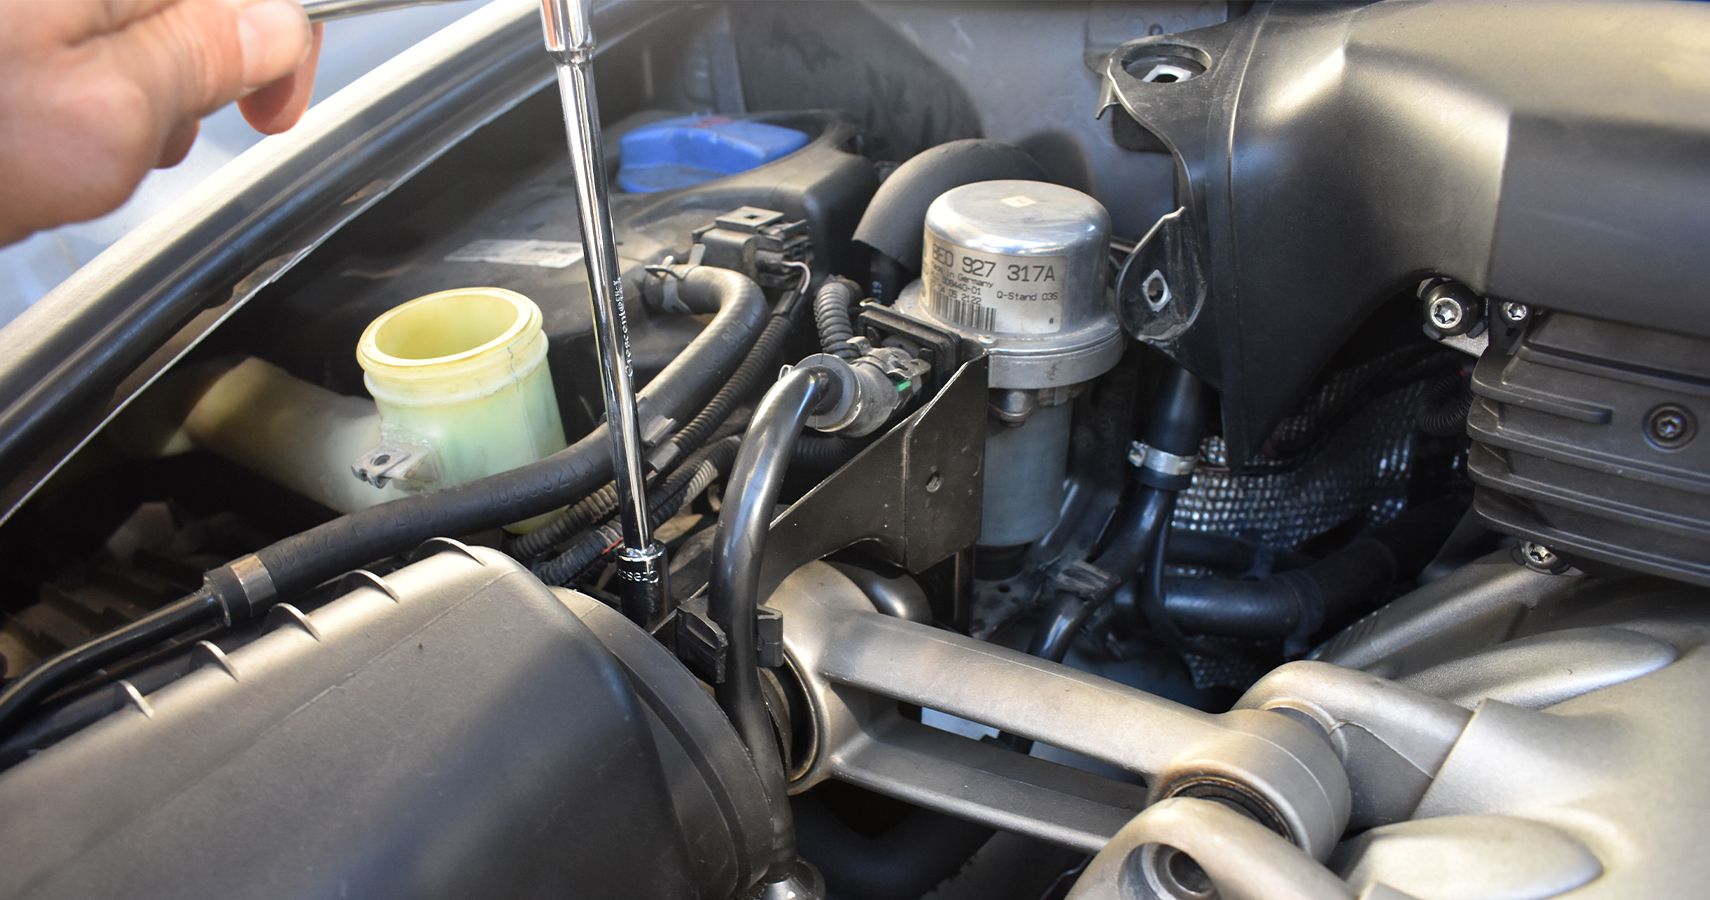
The torque arm itself might feel loose and wiggly but it will still take a good amount of muscle to break the bolts loose. I used a wrench to hold the triple-square bit in place and put the ratchet on the rear nut, carefully twisting to avoid slamming into any other fragile hoses or the secondary air pumps above and to the rear of the engine itself. After breaking the nut loose, unscrew it the rest of the way with your fingers, making sure not to drop it once the bolt comes loose.
Unbolt The Engine Side First
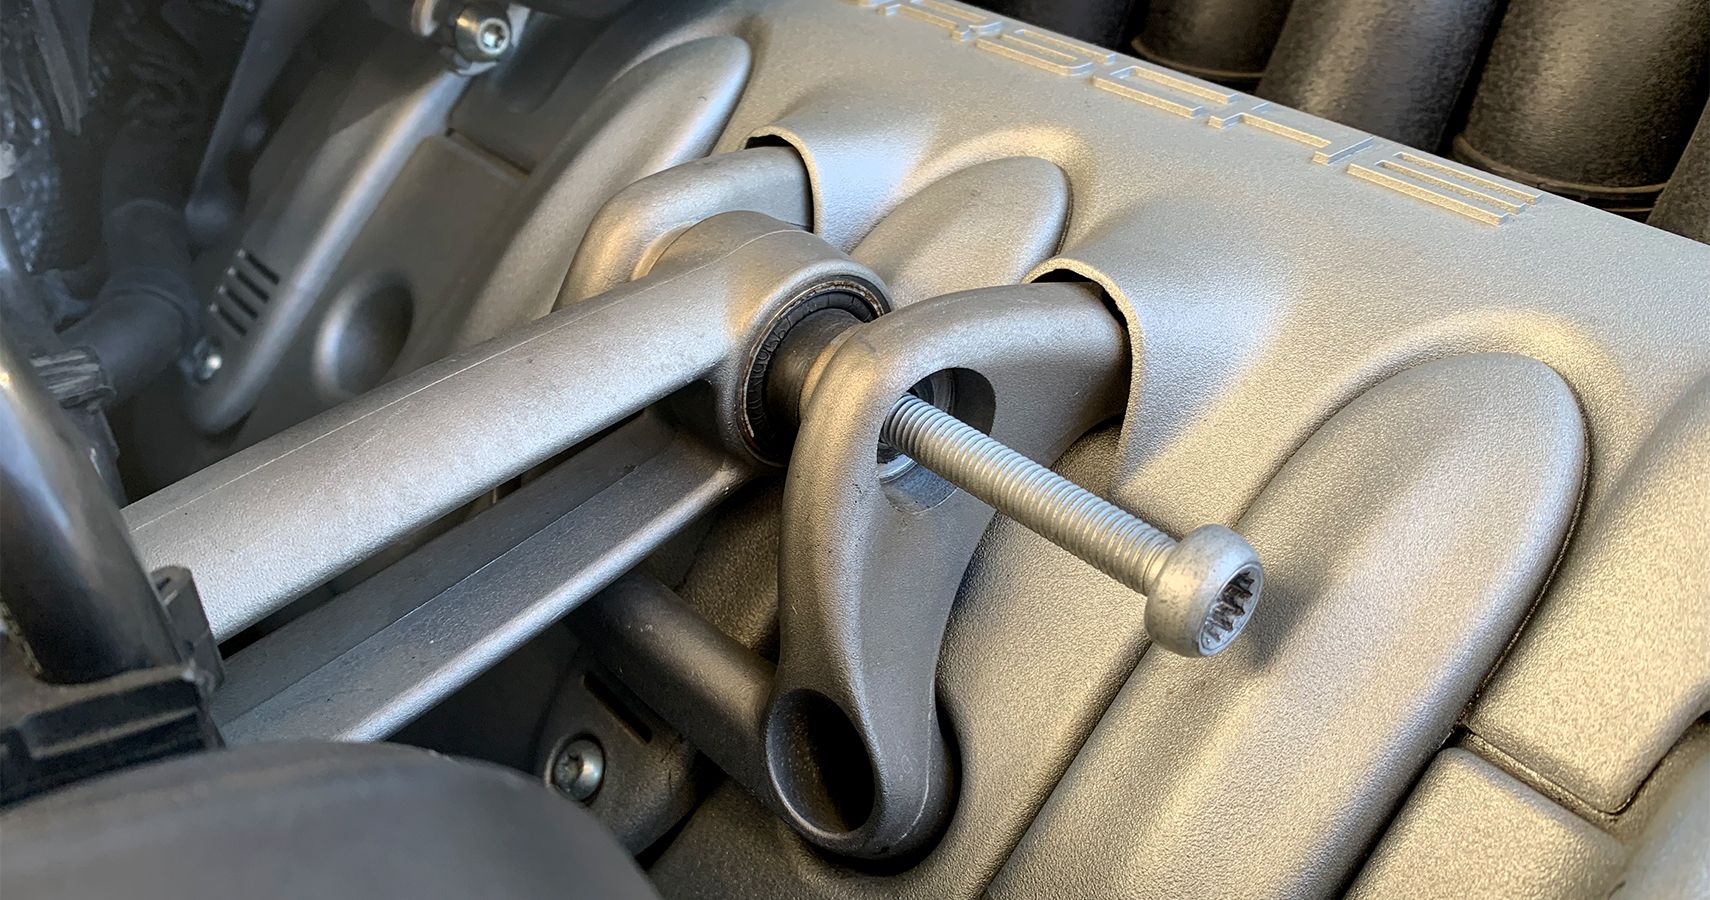
Slide out the long threaded bolt holding the torque arm to the engine bracket. Removing this end first will help to open up a bit more access to the other end where it connects to the chassis because the engine side can drop down a bit lower and rest on the engine cover. I screwed the loose nut back onto the bolt in the hopes of keeping things organized before reinstallation.
Accessing The Chassis End
On Turbo Cayenne variants, a hose bracket above the torque arm's chassis mount needs to come loose in order to fit a socket onto the bolt beneath. Use the 10-millimeter socket and fully remove the two screws holding it on. Now, use one hand to nudge that bracket slightly up and towards the rear of the vehicle, then slip the 16-millimeter socket onto the head of the bolt (not visible in the photo above). The bolt's nut does not come out. This one will take a bit more time, but proceed carefully to avoid bumping any of the hosing and electronics while ratcheting about 30 degrees each way. Then, slip the bolt out to the rear.
For non-Turbo Cayennes, the bolt should be much more accessible.
Even Worse Than Expected
The dogbone mount should slip out pretty easily with both bolts removed. I knew the engine-end bushing looked pretty bad but once I could see the chassis end, that larger bushing looked almost completely toast. Totally deteriorated, it nearly fell apart in my hand—the photos can barely show how bad the rubber got over the years. The engine end was also pretty rough, bad enough that I could manipulate the bushing by hand.
A Bit Of Damage Spotted
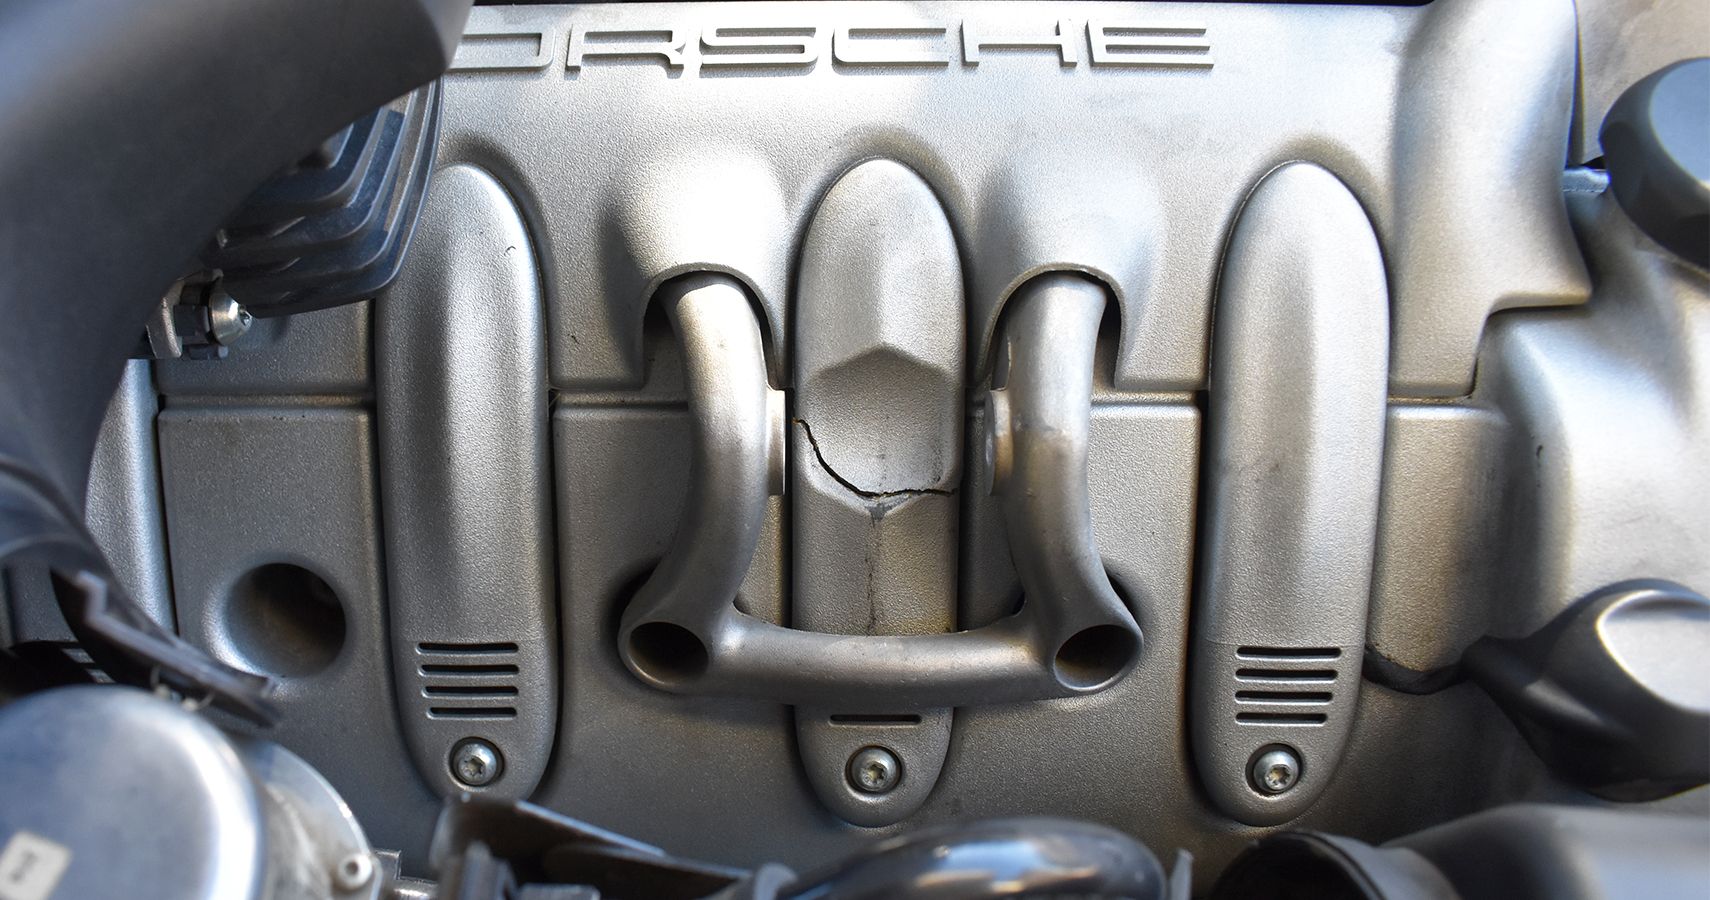
In fact, the bushings clearly got so loose that the engine must have been knocking into the torque arm enough to crack the engine cover that goes over the ignition coils and spark plugs. Not great. Seeing this damage made me feel very happy that I prioritized the job, since I can only imagine how much extra torque the lower engine mounts have been compensating for—and they're a much more serious job to replace. I also find it very hard to believe that the previous owner's mechanic did not identify the obvious bushing failure while doing recent maintenance that included removing the valve covers and intake manifold. But maybe in the long list of huge billable items, this just didn't make the cut.
Torquing Down The Torque Arm
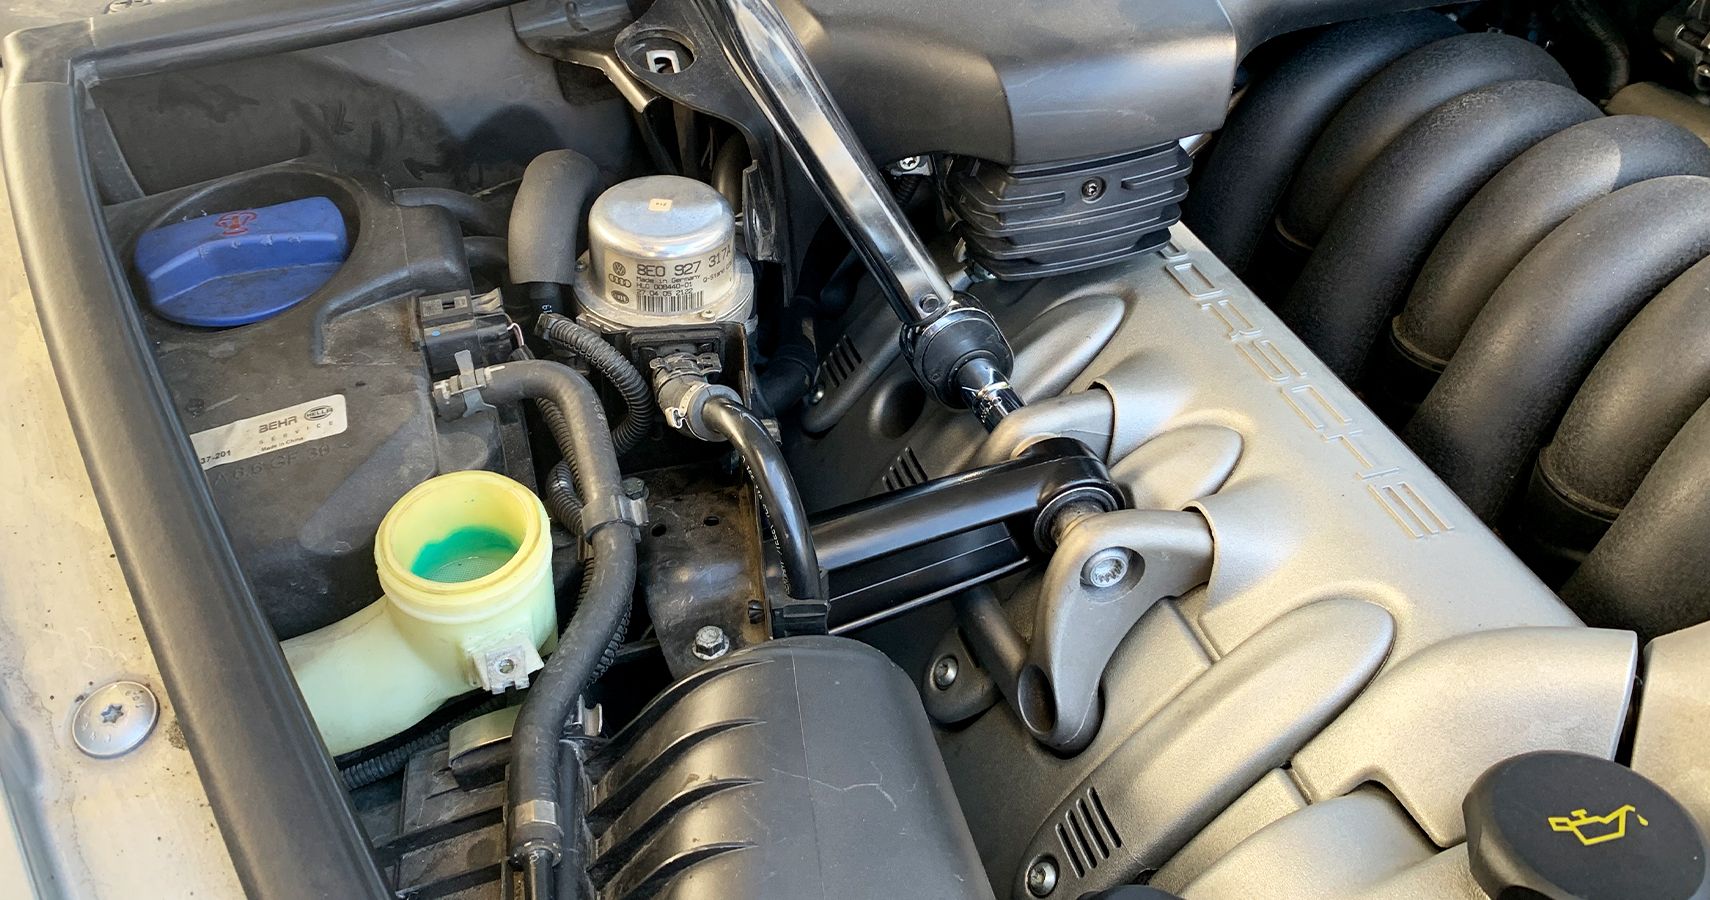
Slide the new torque arm into its brackets, then snug up the screw and nut on the engine end by hand. This might seem counterintuitive, but getting the engine side reattached first will allow you to do a bit more manipulation of the chassis end when the time comes (ask me how I know). Essentially, you'll be able to get some leverage by pulling on the torque arm while slipping in the harder-to-install bolt, rather than trying to pull on the engine itself with one hand to align the second bolt. With both bolts inserted and hand-tight, next use the ratchet and triple-square bit to tighten each down a bit more. Finally, pull out the torque wrench and set it to 44 lb-ft to make sure everything will stay seated over the long term.
Reassembly Is The Opposite Of Removal
Don't forget to reinstall the 10-millimeter screws holding on the bracket above the engine end of the torque arm, then replace the engine trim cover. While you can do the two quarter-turn screws with a thumbnail or an actual coin, I found a flathead helps to make the job much easier. Screw in the T20 Torx screw, pop the washer fluid cap back on, and you're done. All in, this job should take about 30 minutes (and even less for non-Turbos without the bracket). I came away very happy to have replaced the torque arm, though a bit sad that the new one is black, not to mention the discovery of the ignition coil cover's crack.
Another option exists to keep that original look, though: you can buy the bushings themselves to press into your existing torque arm. Or, for those Cayenne owners with cash to burn and an obsession with Porsche, the OEM replacement part as a whole costs about $200 or $300 depending on where you buy. But the aftermarket torque arm that I bought with new bushings already installed cost less than $40 on Amazon including delivery and I'd consider this a wear item, so $200 seems pretty absurd given that I might just buy a second to keep on hand for next time.
Sources: callasrennsport.com, oreillyauto.com, sunsetporscheparts.com, and amazon.com,

